Setting up a NETGEAR Router is very easy and once you have got the router and are connected to it, configuring the router is just a few minutes away. You can follow this quick guide to easily set up your NETGEAR Router.
- Plugin the ethernet cable at back of your NETGEAR router and power it on.
- Now connect to internet over WiFi and open your web browser and head over to http://www.routerlogin.com or http://www.routerlogin.net.
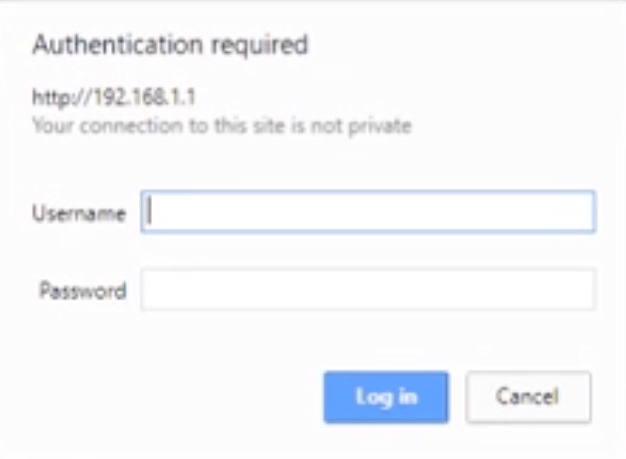
- A login page will appear. Enter the default username and password. The default username is admin and the default password is password.

- Once you log in, go to Internet from menu > Setup Wizard > New Connection and follow the NETGEAR Genie to configure your router.
- If “PPPoE DSL Internet Connection Detected” then ask your ISP for the Username and Password.
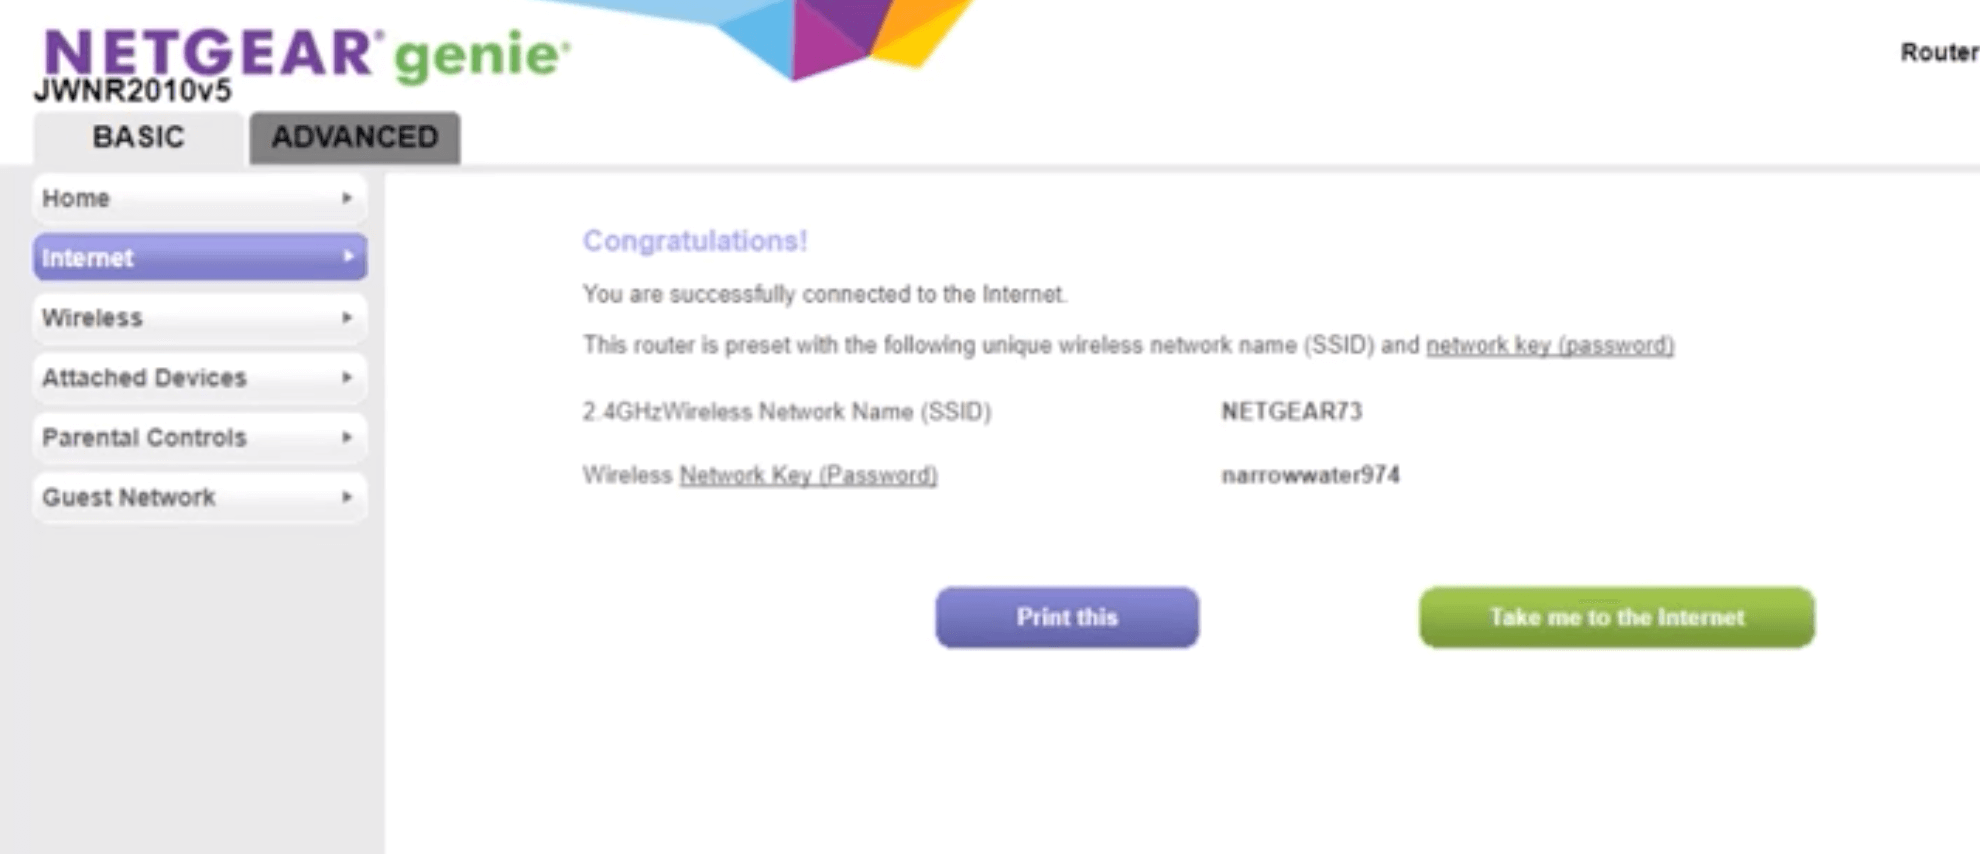
- Once your router is configured then internet connection status will turn GOOD.
- Now visit the Wireless section to configure your Wi-Fi Network.
- Select an SSID (name) for your Wi-Fi Network and select a suitable password under Security Options (WPA2-PSK) Passphrase:
- Apply the changes and you’re now all done setting up your NETGEAR Router.